通过Zabbix-5.0.1监控Clickhouse-server配置详解
一、配置环境:
system:
[root@clickhouse zabbix_agentd.d]# uname -a
Linux clickhouse 3.10.0-957.el7.x86_64 #1 SMP Thu Nov 8 23:39:32 UTC 2018 x86_64 x86_64 x86_64 GNU/Linux
[root@clickhouse zabbix_agentd.d]# cat /etc/redhat-release
CentOS Linux release 7.6.1810 (Core)
zabbix-server[agent]: 5.0.1
clickhouse-server 20.11.4.13-2.noarch
二、前期准备
1)xmllint安装
rpm -ivh libxml2 -y
2)确保clickhouse-client已经安装
三、配置
1)修改zabbix-agent配置
1. # 新增文件
vim /etc/zabbix/zabbix_agentd.d/userparameter_clickhouse.conf
UserParameter=ch_params[*],sh /etc/clickhouse-server/zbx_clickhouse_monitor.sh "$1" "localhost" #单实例中使用
可选 :UserParameter=ch_params-replication[*],sh /etc/clickhouse-server/zbx_clickhouse_monitor.sh "$1" "localhost" #复制集群中使用
2)下载脚本和模板(zbx_clickhouse_monitor.sh)
下载地址:https://github.com/Altinity/clickhouse-zabbix-template
1)把 zbx_clickhouse_monitor.sh 放到 /etc/clickhouse-server 目录下
2)设置zabbix_agent允许以root用户运行,确保可以执行脚本:
vim /etc/zabbix/zabbix_agentd.conf
AllowRoot=1
3)修改clickhouse-server目录权限
[root@clickhouse clickhouse-server]# chmod 755 /etc/clickhouse-server/
4)导入 zbx_clickhouse_template.xml 模板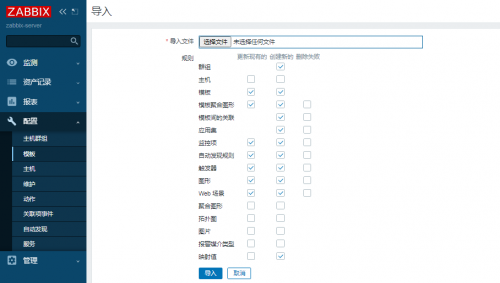
四、重启zabbix-agent服务
systemctl restart zabbix-agent
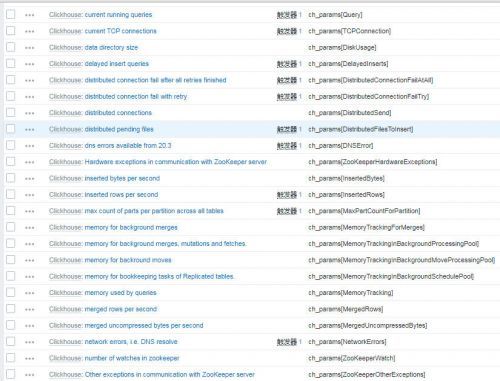
查看zabbix监控项: