| Oracle® Warehouse Builder Installation and Administration Guide 11g Release 2 (11.2) for Windows and Linux Part Number E10579-01 |
|
|
View PDF |
| Oracle® Warehouse Builder Installation and Administration Guide 11g Release 2 (11.2) for Windows and Linux Part Number E10579-01 |
|
|
View PDF |
This section discusses how to install Oracle Warehouse Builder on Windows platforms.
This section includes the following topics:
Oracle Warehouse Builder is part of the standard installation on all hosts running Oracle Database 11g Release 2. When the database is installed, you do not need to perform additional actions other than unlocking the OWBSYS and OWBSYS_AUDIT accounts. The OWBSYS schema contains all Warehouse Builder repository metadata, and the OWBSYS_AUDIT schema is used by the Warehouse Builder Control Center Agent to access the heterogeneous execution audit tables of the OWBSYS schema.
There are several situations when you must download and install the OWB 11g Release 2 Standalone Install Package:
You are installing OWB 11.2 and hosting an OWB Repository on one of: Oracle Database 10g Release 1, Oracle Database 10g Release 2, or Oracle Database 11g Release 1.
You are running the OWB 11.2 Design Client on a developer's computer.
You are installing OWB 11.2 on a computer that runs the Control Center Agent.
To obtain Oracle Warehouse Builder standalone software:
Navigate the browser to the following URL:
http://www.oracle.com/technology/products/warehouse/
On the right side of the page, click All Releases and Platforms.
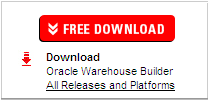
Under Oracle Warehouse Builder Downloads, select Accept for the licence agreement.

The system displays the following message: "Thank you for accepting the OTN License Agreement; you may now download this software."
Under the Standalone Software download, click the down arrow beside the platform of your choice to download the ZIP file that contains Oracle Warehouse Builder.
For Windows: choose the Microsoft Windows option.
For Linux: choose the Linux x86 option.
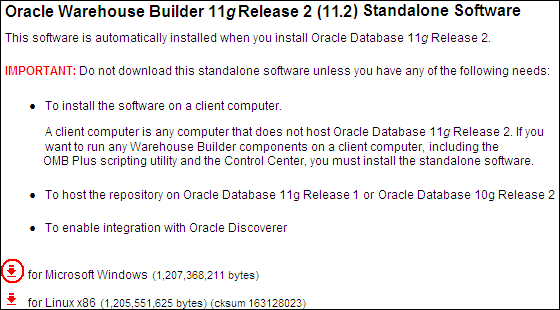
When the download is complete, extract the ZIP file into a temporary directory. For example,
For Windows: use C:\temp\OWB.
For Linux: use /temp/OWB.
After you obtain the standalone installation files for Oracle Warehouse Builder and extract them, you must install the software.
To run Oracle Universal Installer:
In Windows Explorer, navigate to the directory that contains the extracted Oracle Warehouse Builder installation files. In this discussion the sample directory is C:\temp\OWB.
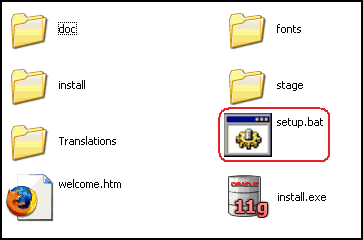
Click the setup.bat file to start the Universal Installer.
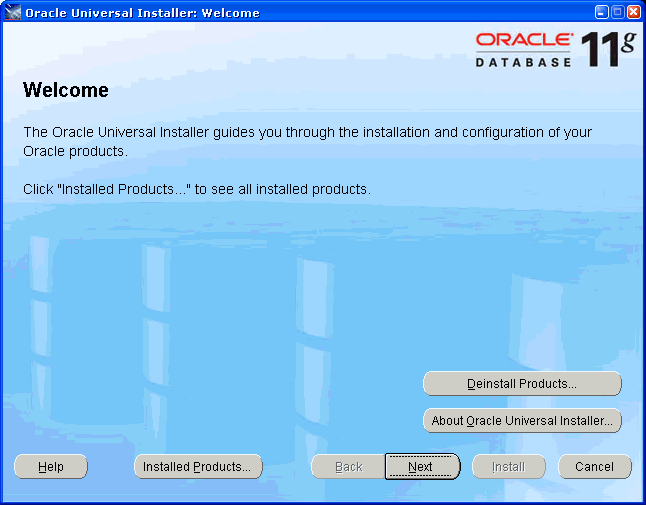
On the Welcome screen, click Next.
On the Specify Home Details screen, specify a new Oracle Home:
Enter the Oracle Home Name; for example, OWB112.
Enter or browse to Path C:\.
Click Next.

Tip:
To ensure a successful installation:Do not use an existing Oracle Home.
Do not use any spaces in the directory path.
[Optional] On the Customer Support Email screen, enter the Email and Password for your My Oracle Support account.
Click Next.
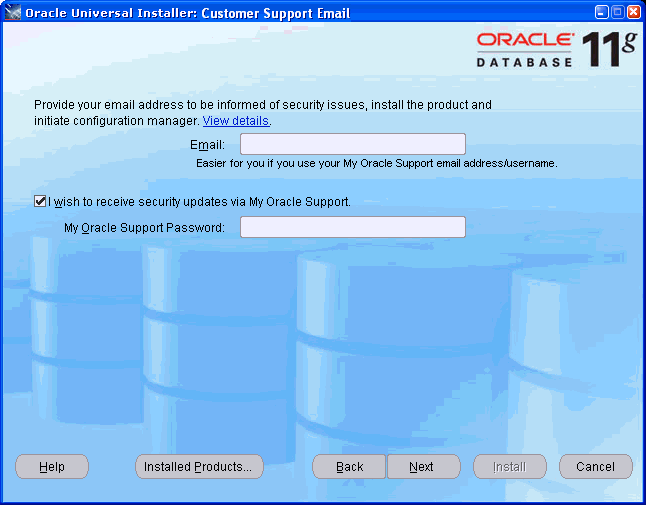
On the Summary screen, click Install.

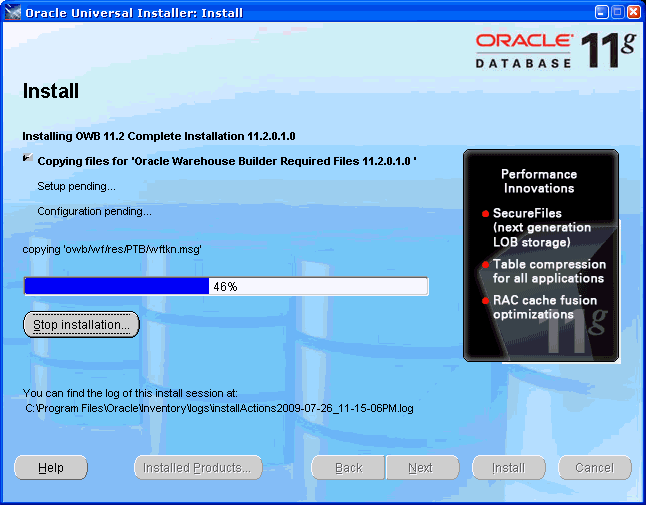
The Install screen shows progress during the installation process.
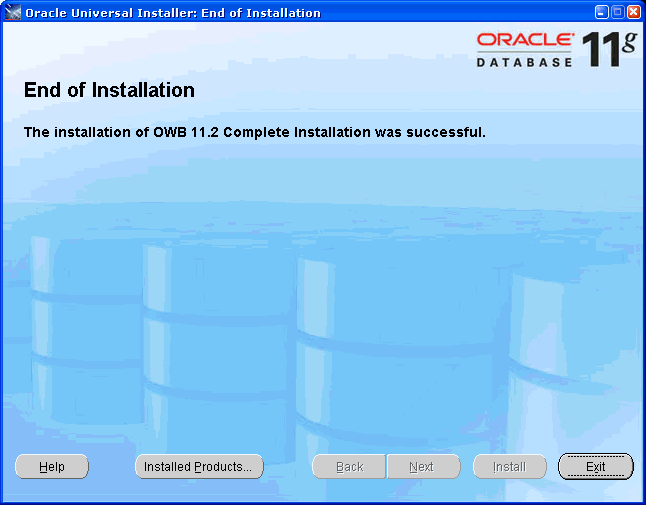
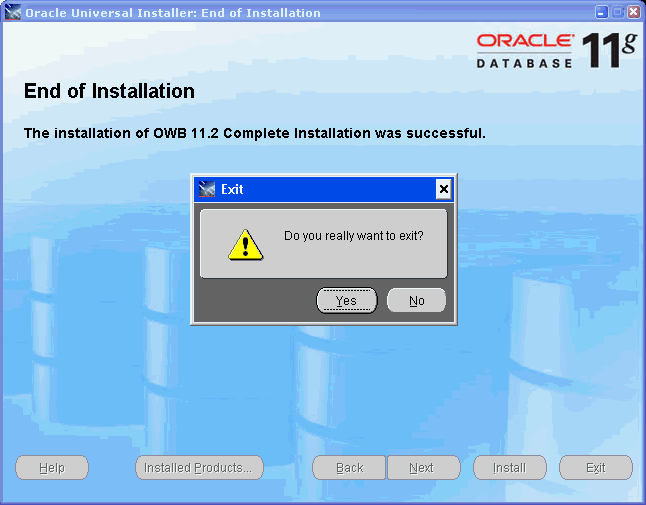
At the End of Installation screen, click Exit. The Exit message appears asking if you really want to exit.
In the Exit message, click Yes.
Once Oracle Warehouse Builder software is installed on your computer, you must configure it.
For steps on configuring Oracle Warehouse Builder on Linux, see Chapter 4, "Configuring Oracle Warehouse Builder for Linux".
For steps on configuring Oracle Warehouse Builder on Microsoft Windows, see Chapter 3, "Configuring Oracle Warehouse Builder for Windows".
An Oracle Universal Installer silent installation runs in the background and does not require input from the user. Instead of prompting the user to select a series of installation options, the software uses a pre-defined set of options stored in a response file or passed on the command line.
A response file specifies the information normally provided by the user to Oracle Universal Installer interface during an interactive installation session. Each answer is stored as a value for a variable identified in the response file. For example, values for Oracle home or install type can be set automatically within the response file.The response file template for the installation of your product can be found on your stage (CD-ROM) under the root_of_CD/response directory, such as:
Products.xml_Location/Response/product.installtype.rsp